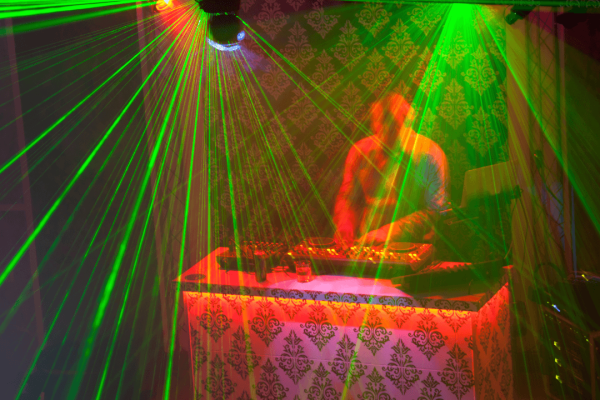
Lighting scenes are how DJs and lighting technicians are able to design intricate light shows that can be replicated over and over.
Are you an aspiring DJ or lighting designer? If you are, then there is a good chance that you are looking for ways to create the best light shows possible. Though it may seem difficult to replicate the complex lighting design you have seen at other events, in nightclubs, or on concert tours, there are few techniques you can use to make even simple lighting setups impressive for crowds of any size.
One of the best things that an aspiring lighting technician can learn is how to properly use lighting scenes in a set. In this article, we’re going to be talking about what lighting scenes are, how to use a DMX controller to set up lighting scenes, and how to implement them into a light show. No matter how small your lighting equipment or the size of your audience, you’ll be able to pick up a few pointers. Let’s dive right in by defining lighting “scenes!”
What Exactly is a Scene?
Scenes help lighting designers build out planned light shows for any event

All DJs and technicians use lighting scenes.
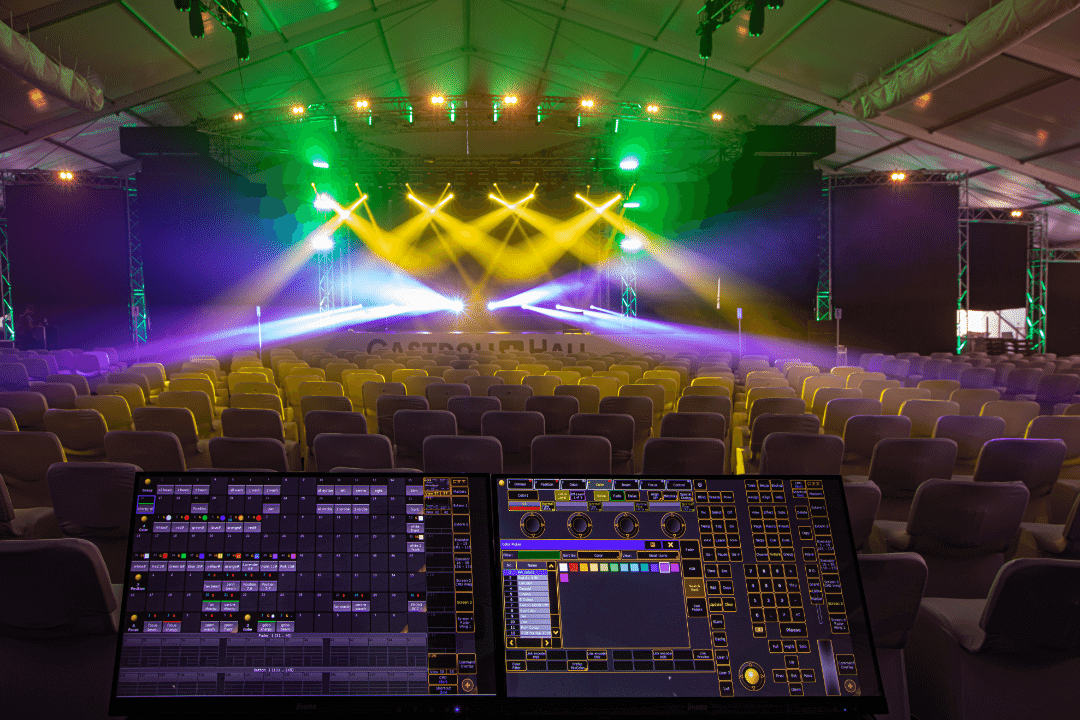
Though lighting scenes seem complicated when they are projected to the crowd, they are actually quite simple to explain. A scene is a preset series of commands that a lighting technician programs into their DMX light controller. A DMX controller is the most widely used type of light control system available. DMX controllers work for any type of show as they are easy to use and are able to send out commands for different types of lighting fixtures, operate on up to 512 channels, and create and save scenes.
To prepare for a show, a DJ or a lighting technician will start by composing lighting scenes that can be easily called up in the show. That way, the person in control of the lights can queue up different scenes that go with different songs or moods. It is beneficial to think about “scenes” in the same way that people think about a DJ mixing different songs. The scenes—just like the songs—are able to be called up and mixed in different ways alongside the songs using the DMX controller. When these scenes are pre-set and placed back to back, it creates a comprehensive and satisfying light show for the audience.
Daisy Chaining Devices to a Power Source
Are you ready to start creating impressive scenes you can use for any occasion?
Daisy chaining lights is a great way to operate light fixtures in sync.
The first thing you need to do to start creating scenes is to set up your equipment. Start by making sure that your DMX controller is completely turned off—including all of the faders and buttons set to “zero” or “off.” From there, you can begin the process of daisy chaining the power source for your different lighting fixtures together. It is important to daisy chain your power sources so you don’t need to find an individual power source for every light fixture. If you are rehearsing somewhere that is not an event space or a venue, this will come in handy.
Once your DMX is zeroed out, you can start daisy chaining your fixtures together using the power cables—not the DMX cables. You will also need to pay attention to the instructions from the individual devices to determine how many you can chain together at once. If you begin to chain together the power cables without checking first, you could damage your equipment.
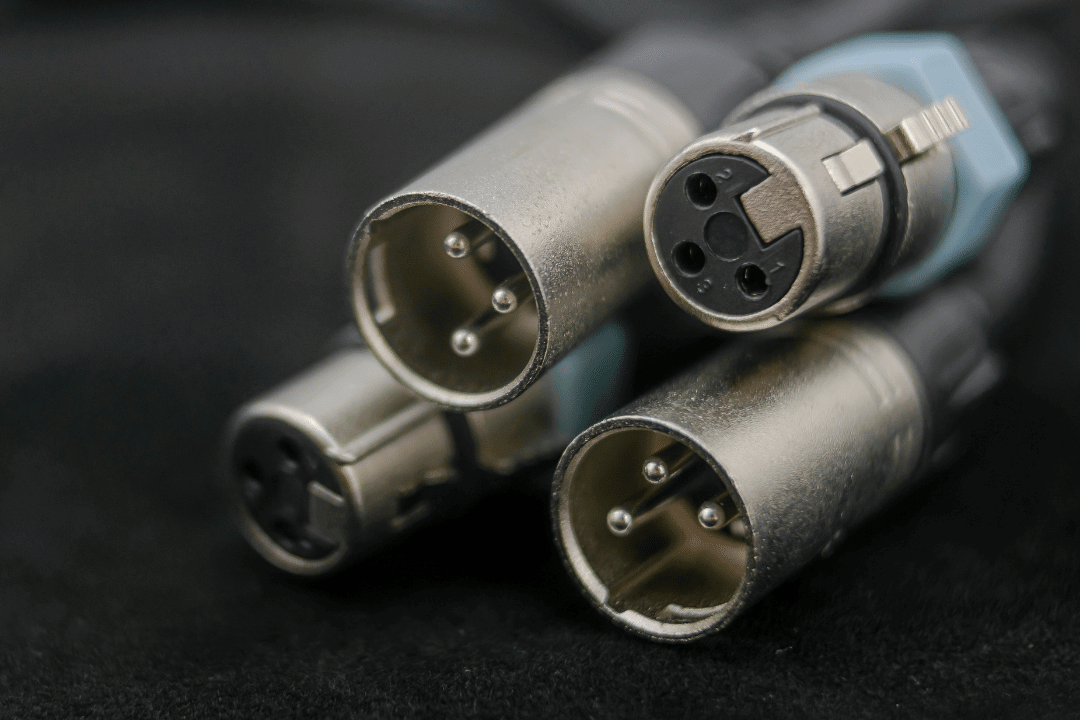
Addressing Each Fixture & Connecting DMX Cables
Now that you have the power source taken care of, it’s time to address and connect the light fixtures
Each fixture or set of fixtures needs an address.
Now that your devices are daisy chained together to a power source, it is time to address each of your devices. Using your DMX controller, you can designate that each channel is assigned to a certain address. Each address will then correspond to a fixture that will be controlled by that specific DMX channel. Then, when you begin creating lighting scenes, you know which address the lights are located.
To establish an address for each fixture, you need to scroll up through the different options until you reach the option that reads “3-CH” which stands for 3 channel mode.. Once you’ve selected the “3-CH” channel mode, you can press enter on the DMX. In order to assign addresses, you need to connect your DMX cables to their corresponding fixtures. For example, if you have a moving head light—or a set of moving head lights—then you will want to establish an address and connect the corresponding cables. Once all of the devices are connected, you can move onto the next step—creating your custom scenes!
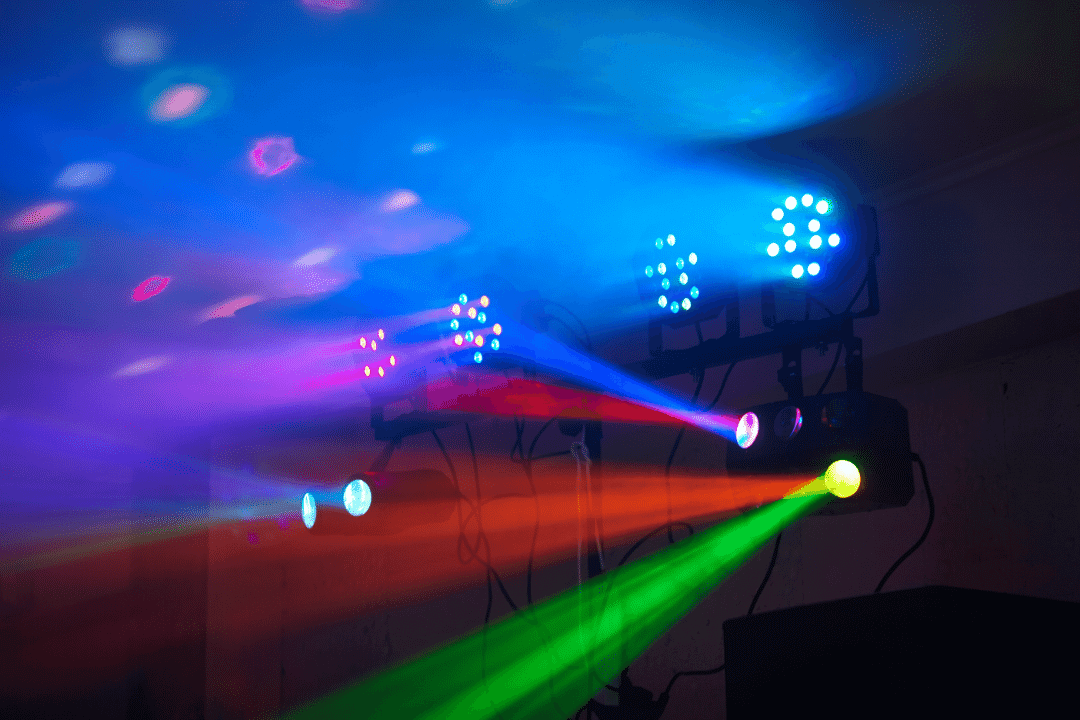
Setting the Scene
With everything properly connected and powered on, you can begin getting creative with your lighting setup
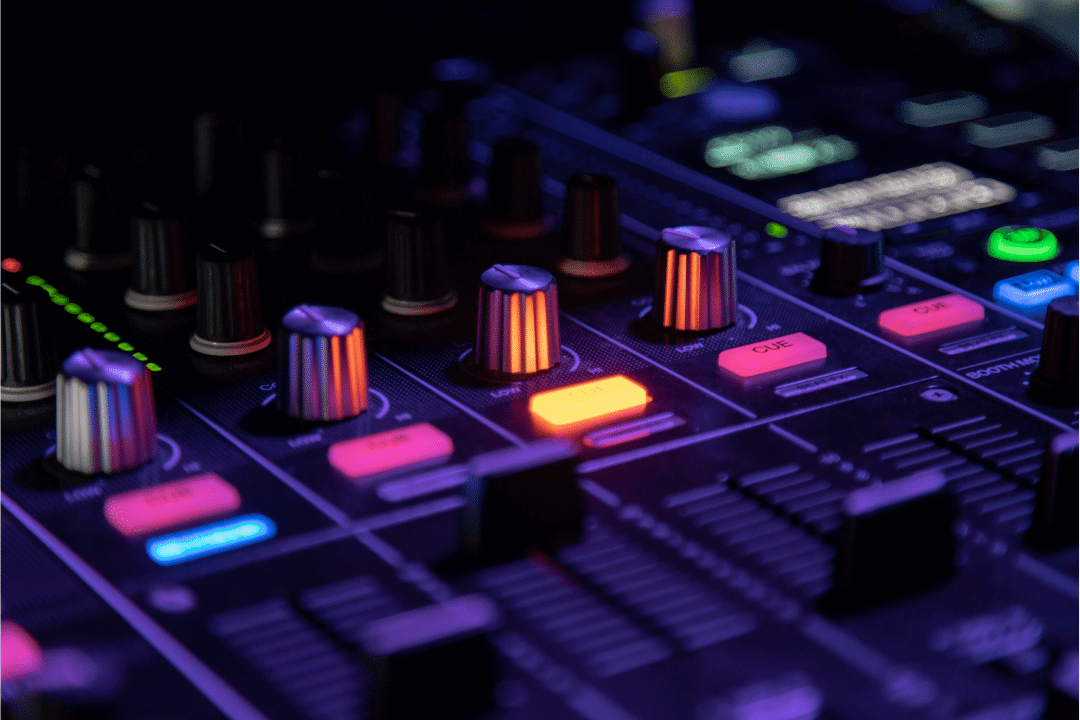
Using the sliders on your DMX, you can control different colour outputs.
With your DMX cables, and power source all taken care of, the next step is to start from your “blackout mode” setting on the DMX. This is a great feature that is included with the DMX and is perfect for when you need to quickly turn off your whole lighting setup. Starting from your blackout mode is like beginning a painting from a blank sheet of paper.
To begin your scene, you should turn to the first three faders on your controller. These faders control the red, green, and blue colours in that order. These are the three faders you will use to designate the colour commands for your light show. Before you begin setting your commands, make sure that your controller is set in “program mode” otherwise you will lose all of your work. Once your controller is in program mode, you can start by selecting the first fixture on the controller and using the faders to designate colour.
In order to select the next fixture, you will need to deselect the current fixture by pressing the currently illuminated fixture button. When the selection is no longer illuminated, you can move on to the next fixture and repeat the same process. Once you have made your selections for the colour of each fixture or set of fixtures—congratulations! You have made your first ever lighting scene! The next step is to make sure you’ve properly saved it. Obviously, this is the most simple way to create a scene, so don’t expect to create something extremely complex on your very first try.
Saving Your Scene to Use in the Future
Make sure you save your scene so you can use it as part of your light show
Save enough scenes and you will have a full light show!
Once you’ve created your scene, you need to save it so it can be used in the future. In order to easily call up a scene in a future performance, you need to save it to the first scene button on your DMX. First you need to locate the first scene button and then you need to locate the button labeled MIDI/REC. By pressing both of these buttons down simultaneously, you can save your scene. In order to ensure your scene is properly saved and you haven’t lost your work, make sure that the first scene and MIDI/REC buttons light up three times simultaneously. After that, you know that your scene has been properly saved in the controller.
By repeating these steps and making different colour choices you can designate presettings for everything from pre-show wash lighting to complex lighting effects. We should mention that you need to save each individual scene to its own button. It is also important to take note of each scene so you can remember which scene was saved to each button. By using different channels, you can command your lights to perform all types of different commands—like strobe lighting! We hope that this tutorial gave you the advice you need to start programming and saving your scenes. In no time, you’ll have built up a portfolio of scenes that you can use for a wide array of different events and shows.